Project Planning with Gantt Charts
Click on a Section Title to show or hide contents
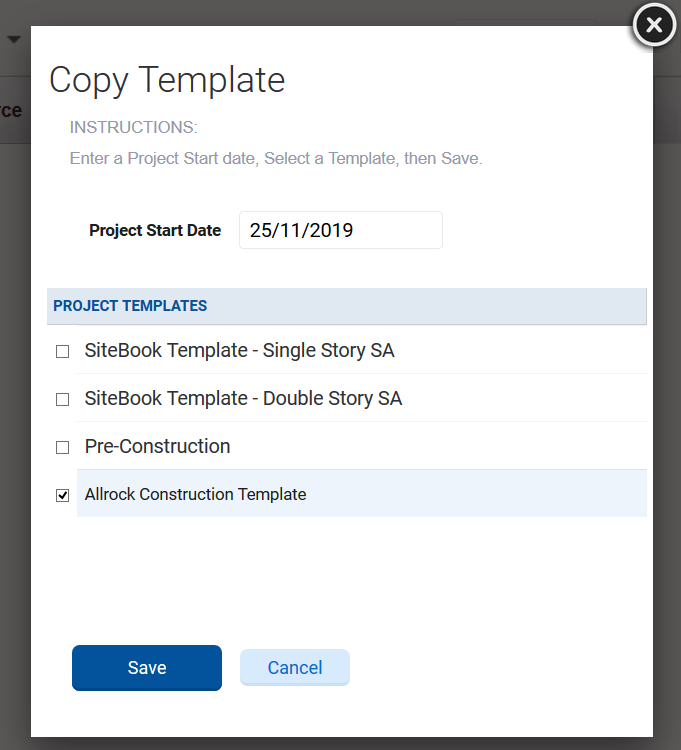
When setting up a new Project Plan, you can either select a template or start from scratch.

Press OK to select a template
Enter the Project start date and select a template
Save when Finished
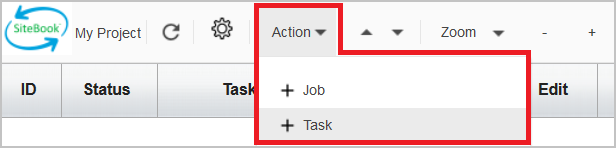
To add a job or a task to the plan, mouse over the "Action" drop-down menu
Use + Job and + Task to add new items to the project plan
To indent a task, Right-Click the Child task
Select "Indent" or "Outdent"

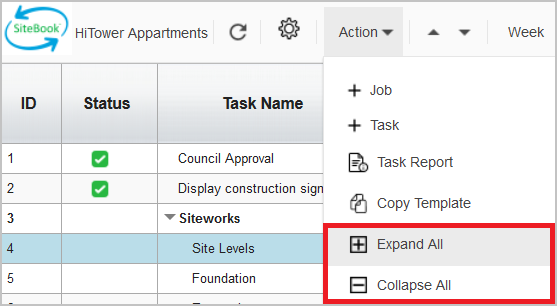
All Child tasks can be shown or hidden with the Action menu
Select "Expand All" or "Collapse All"
If items are Linked, then any changes made to a item within the links will flow on to any subsequent items.
e.g. Moving the start date forward 5 days will also move all linked tasks and jobs forward the same amount.
To Link a task, click the first task and drag a line to the next task
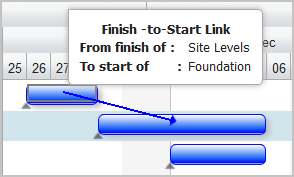
Alternatively, you can enter the ID of the previous task in the Linked Task's Predecessor column

e.g. By adding the ID of Site Levels into Foundation's Predecessor column, any changes in Site Levels will update Foundation
The SiteBook Gantt supports the standard Microsoft Project predecessor codes:
- FS - Finish-to-Start (default)
- SS - Start-to-Start
- FF - Finish-to-Finish
- SF - Start-to-Finish
1. Finish-to-Start (default):
In this example Task #1 "Trusses" must finish before the Task #2 "Roof" can begin.
This task relationship dependency is referred to as a "Finish-to-Start" predecessor.
This is the default, so the code "FS" is not displayed - only the Task Id is required.

2. Start-to-Start (Start X days before Task):
In this example, the Windows need to be ordered 10 days before they are installed.
Enter a Predecessor of "2SS-10".
2 means the dependency is on Task ID #2 (Windows)
SS = Start-to-Start
-10 means to start 10 days prior
Note: you can also use "+10" to start 10 days later.

3. Finish-to-Start (Simultaneous Tasks):
In this Example Task #2 can begin 5 days before Task #1 ends.

4. Simultaneous tasks example Start-to-Start with lag
In this example Task #2 can start 5 days after Task #1 starts.

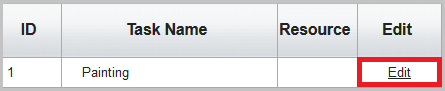
To assign a Resource to a task, press Edit
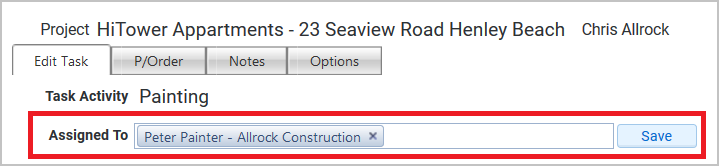
Type the name of the Resource, select them, and hit Save
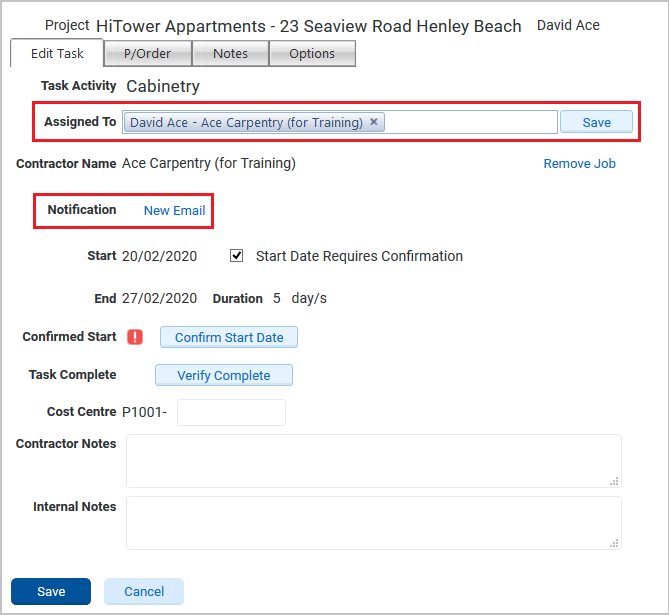
To send an email notification to a resource assigned to a task, click Edit to bring up the task details
Assign a Resource if there isn't one already
Use New Email to open the email screen
From the Email Screen you can:
Select an Email Template to use
Add New Email Recipients
Attatch any Plans and Specs
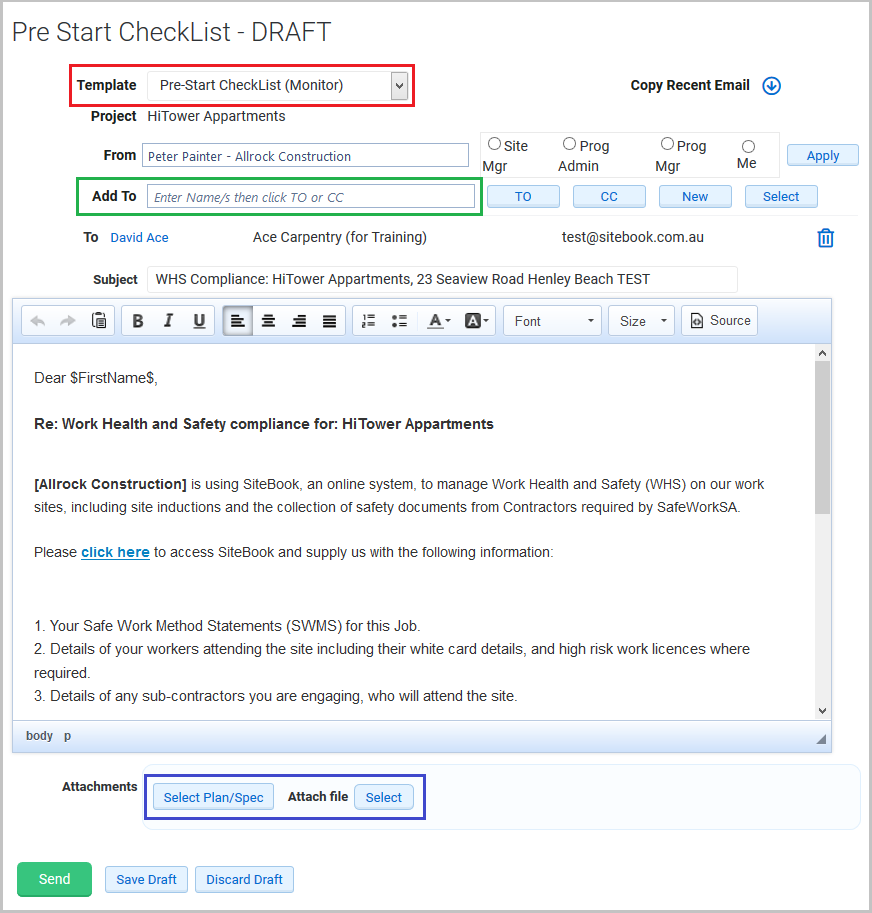
Hit Send when finished
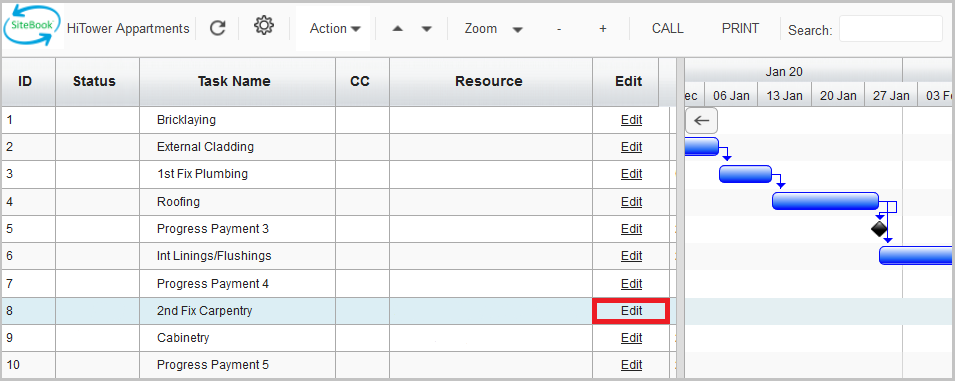
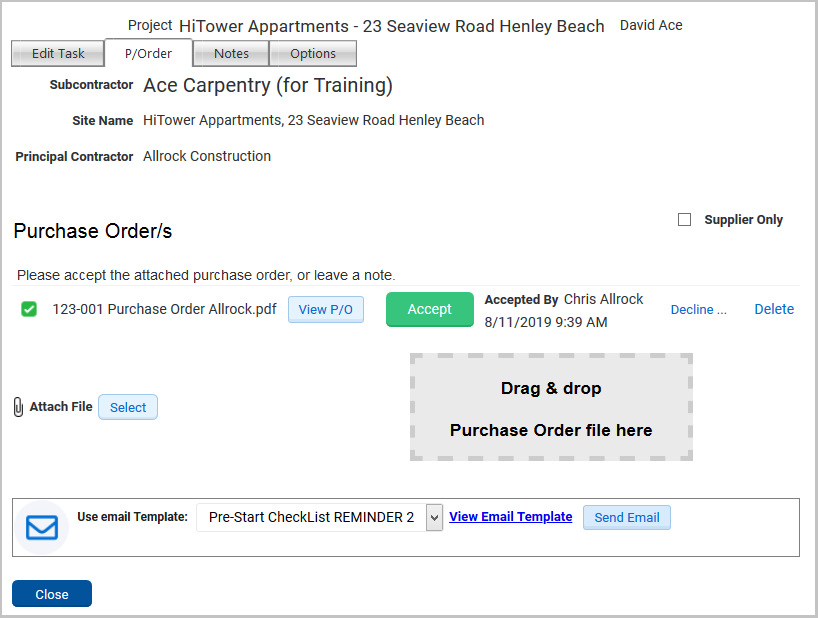
To edit a Task use the Edit button
From the Edit Screen you can:
Change Assigned Resources
Confirm Start Date or Verify the Task as Complete

By changing to the P/Order Tab you can view and accept Orders for this Task
By changing to the Options Tab you can change the Task or Trade Type, and set the Planned Start and End Dates
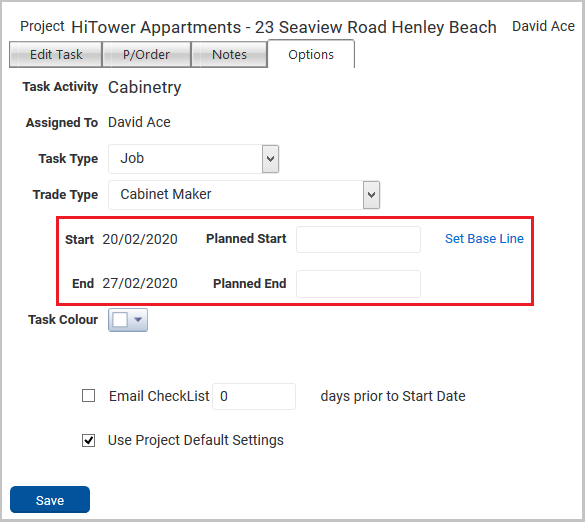
Make sure to Save when finished
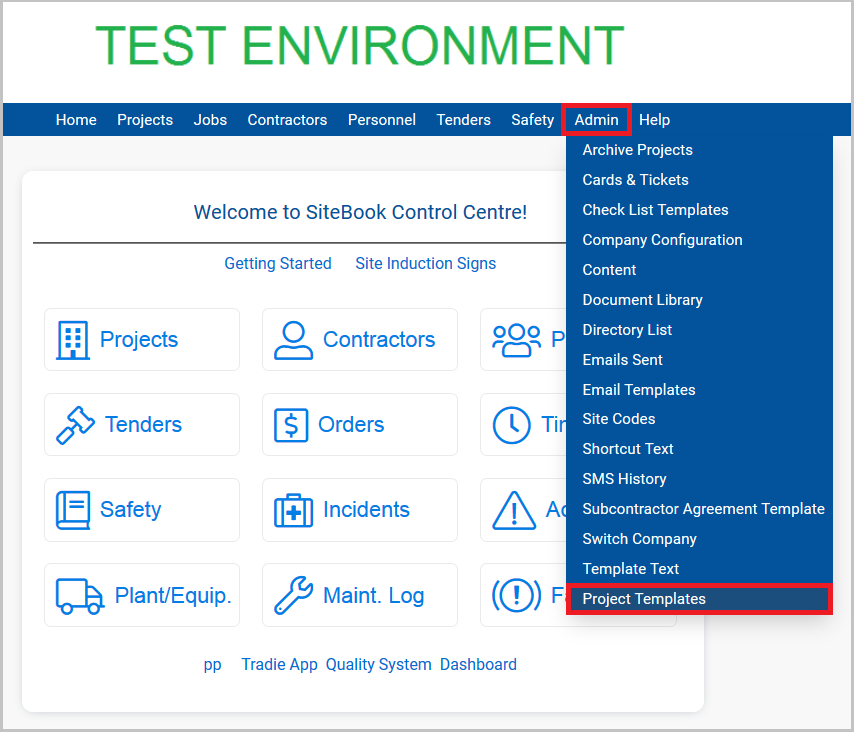
To create or update a Project Template select the Admin Tab and choose Project Templates
To Update an existing template, select a Template Name to Update
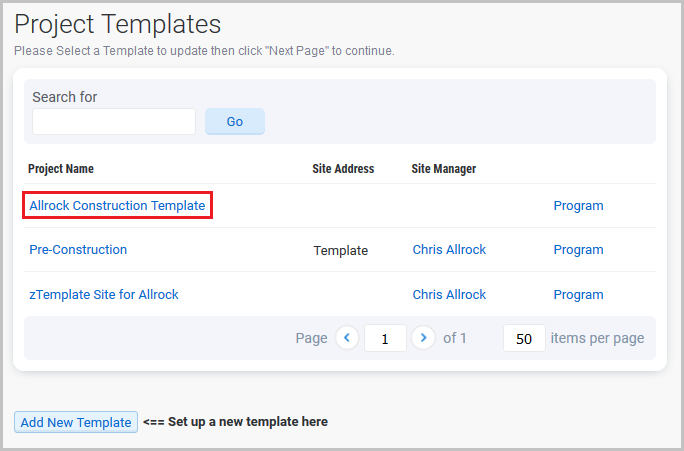
Here you can change the Template Name and Update the Project Plan

Task Resources assigned in the template will be copied to any new projects using this template.
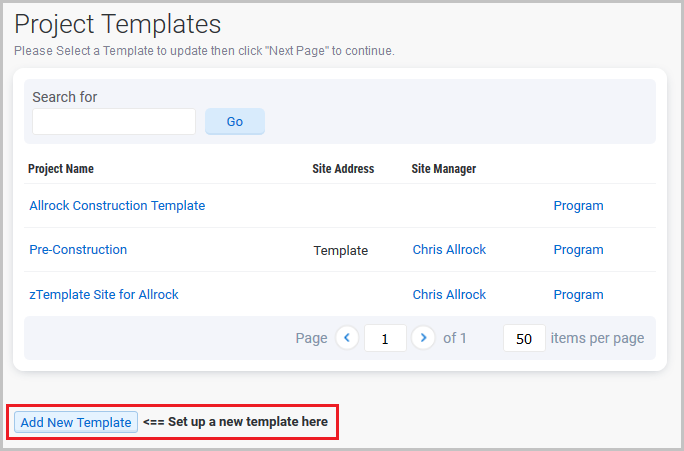
To Add a New Template, instead of clicking a template name, select Add New Template
When adding a new template, you can choose to copy existing WHS Items from an existing template
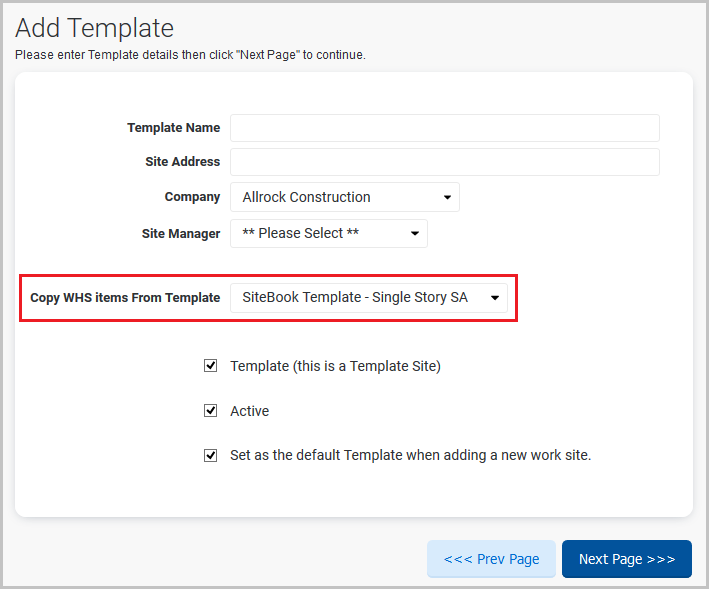
Step through the process to finish your new template