Procore Connector - Setup Guide
Step 1. Setting up a Service Account
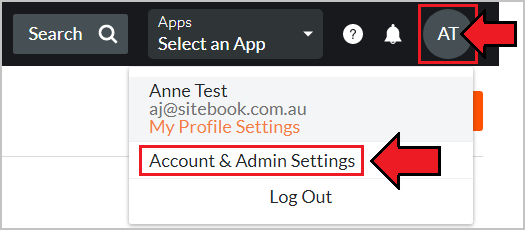
1. Open Procore and click on your Profile --> Account & Admin Settings
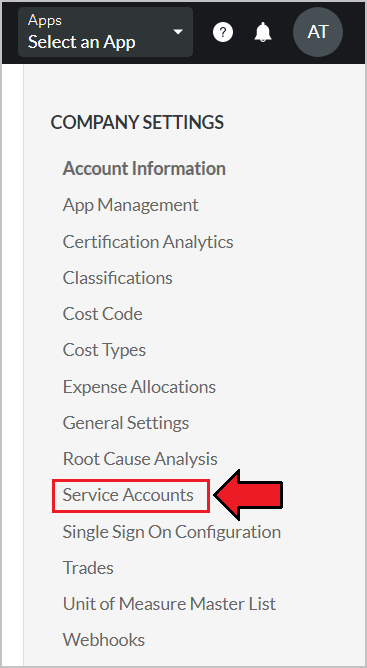
2. Click Service Accounts
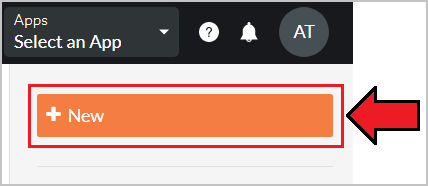
3. Click New
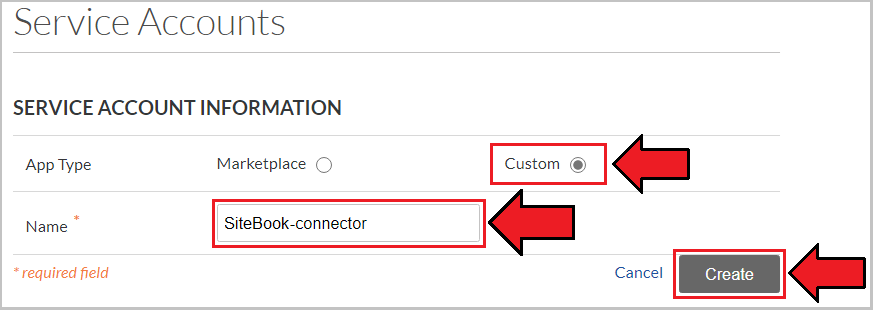
4. Tick Custom, Fill Name, then click Create.
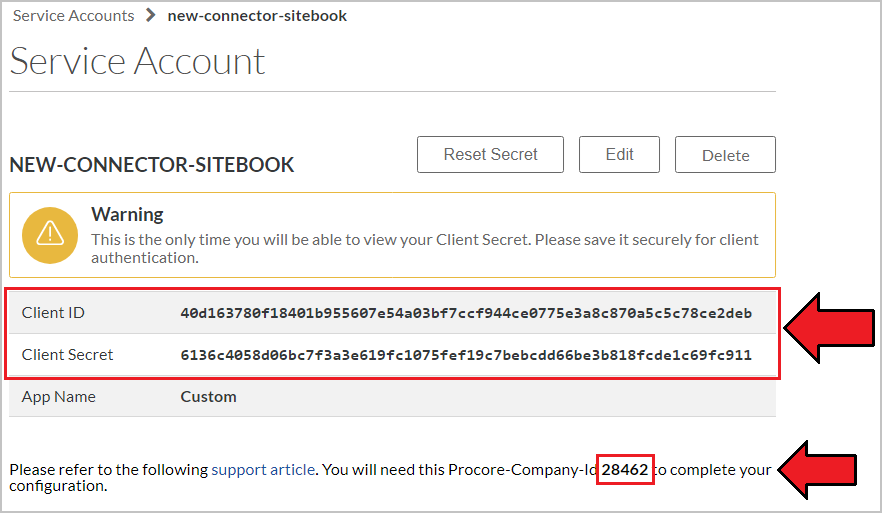
5. Take note of your Client ID, Client Secret, and Procore-Company-Id.
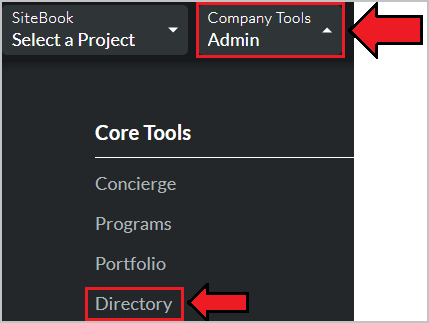
6. Click Company Tools --> Directory.
7. Click the Edit button of newly created service account.

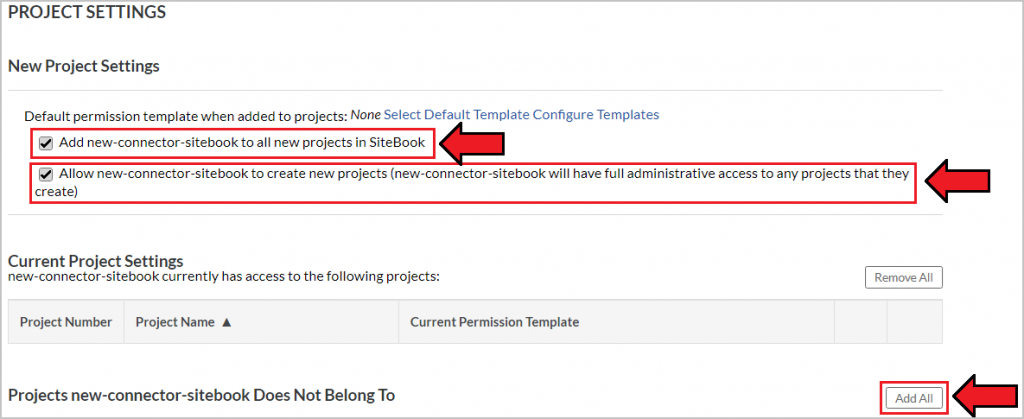
8. Scroll down to Project Settings
Tick 'Add new connector to all new projects in SiteBook' and 'Allow new connector to create new projects'
Then click the Add All button
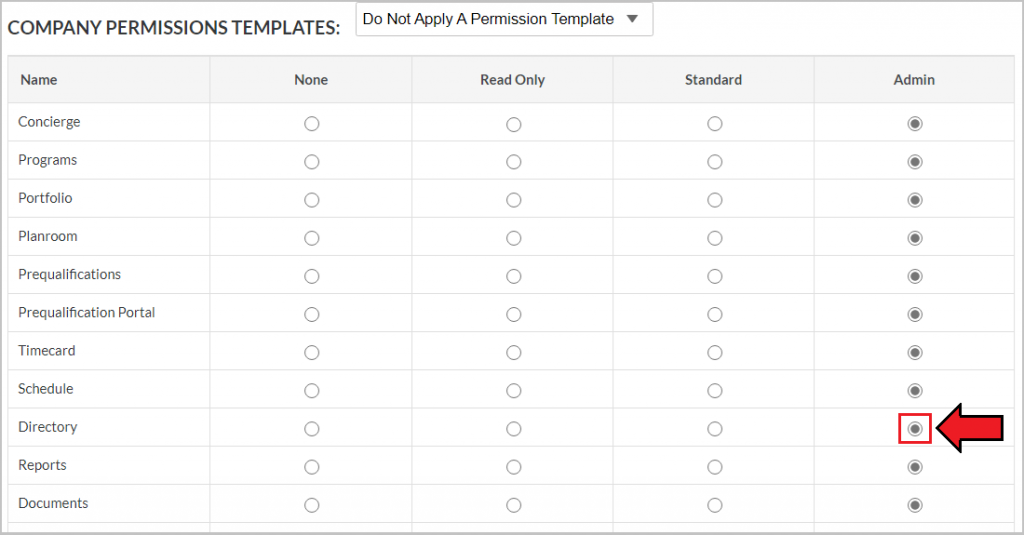
9. Scroll up to Company Permissions Templates section then tick the Admin boxes for Portfolio and Documents.
10. Scroll down to the bottom of the page then click Save.

Step 2. Connecting your SiteBook folders
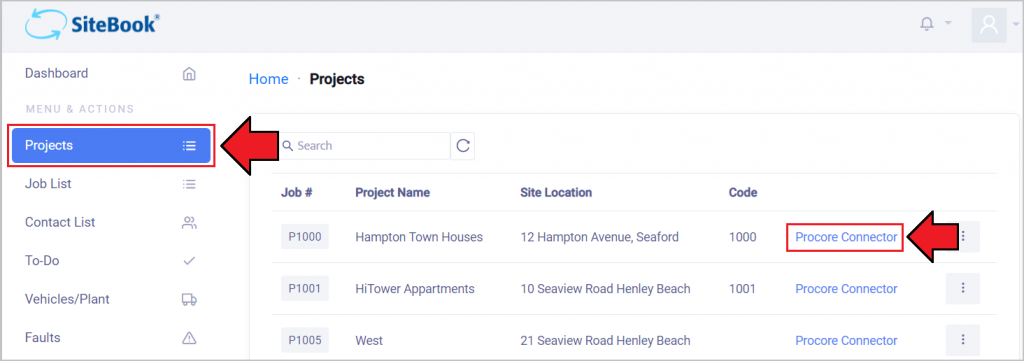
1. Open the SiteBook Web App, go to your Projects List --> Procore Connector
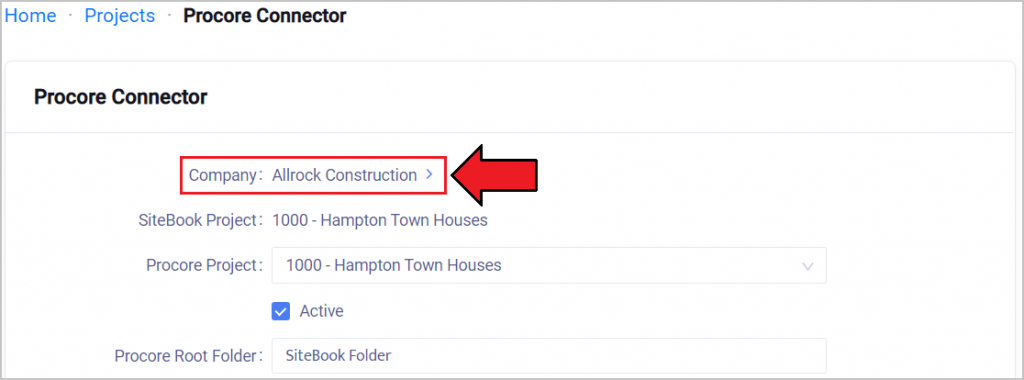
2. Click the Arrow ( > ) next to your company name to access the Setup Page
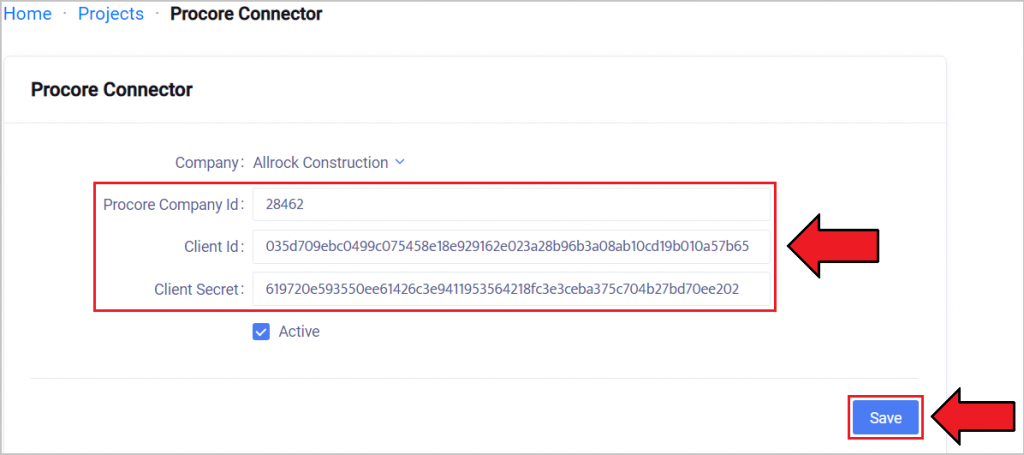
3. Fill in the Client ID, Client Secret, and Procore-Company-Id from previous step and tick Active then click Save
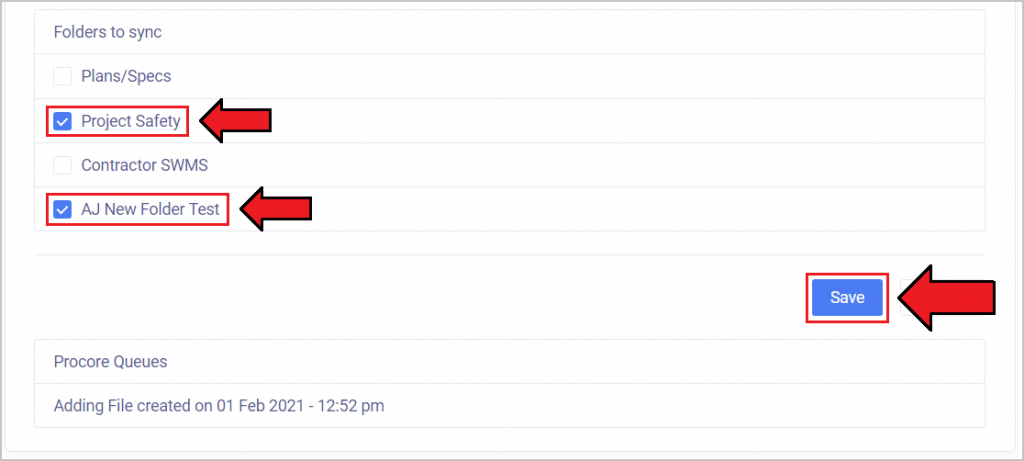
4. Tick the folders you'd like synced and then click Save